I have a huge list of useful painting tips and tricks that save time to share today, including a few tips for painting interiors and walls. There are even a few tricks that will make your next furniture makeover easier and better looking!
Best of all, you can download these and my bonus painting tips to refer back to when you tackle your next DIY painting project!
Let’s face it, paint is expensive, and for most people, time is limited. But when you tackle a paint job, whether it’s a piece of furniture, a room, or even just the trim, there’s money to be saved!

Who doesn’t like to save money?
I’ve saved thousands of dollars by painting my home, offices, and plenty of furniture. But savings don’t matter as much if you don’t LOVE the paint job. Today I want to share painting tips that will save you time and money and help you love your paint job more.
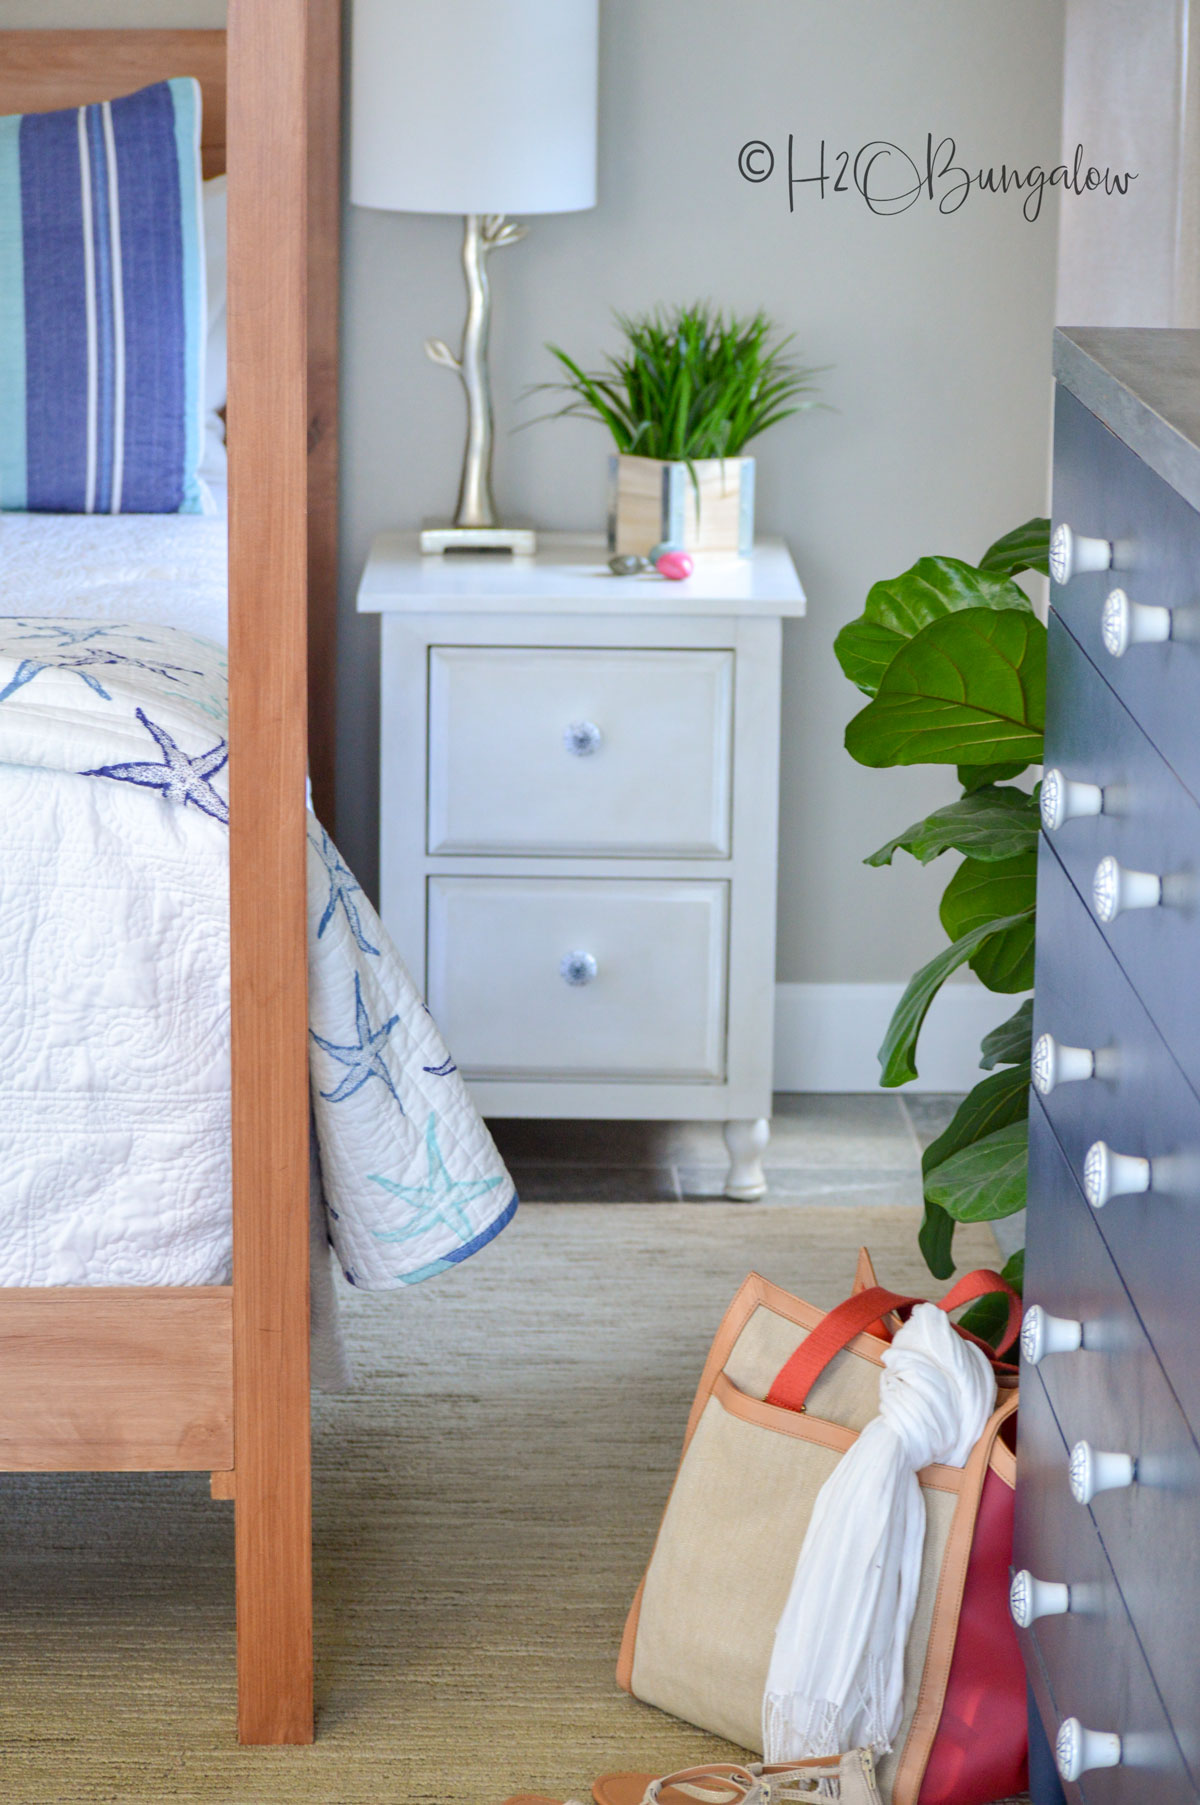
All the furniture in this picture has been painted, including a custom stain on the bed. The finish and quality are as good as any furniture store.
22 Useful Painting Tips and Tricks That Save Time
To help you find the products I used in this project, I use affiliate links, as an Amazon Associate I earn from qualifying purchases. You can read more in my disclosure statement.
1. Stop paint from sticking to your skin
Rub generous amounts of hand lotion onto exposed skin before painting. You’ll moisturize your hands, and the paint will wash right off.
2. You can easily tell if a surface has been painted with latex or oil-based paint.
By rubbing the old paint with a cotton ball dipped in rubbing alcohol. If the paint color comes off onto the cotton ball, it’s latex paint. If no color comes off, it’s oil-based paint.
3. Always start with a clean surface before painting.
Simple Green is the best degreaser and deglosser I’ve found yet. Use the pre-mixed full-strength spray bottle and a clean painter’s rag. It removes built-up dirt and takes the finish off paint or old surfaces so the new paint can grip.
Best of all, you won’t need to rinse before painting. Caution! Don’t clean a surface with this unless you want to remove the finish.
4. Wipe your furniture pieces or freshly sanded walls and trim after sanding.
Use a tack cloth after sanding to remove traces of sawdust before painting.
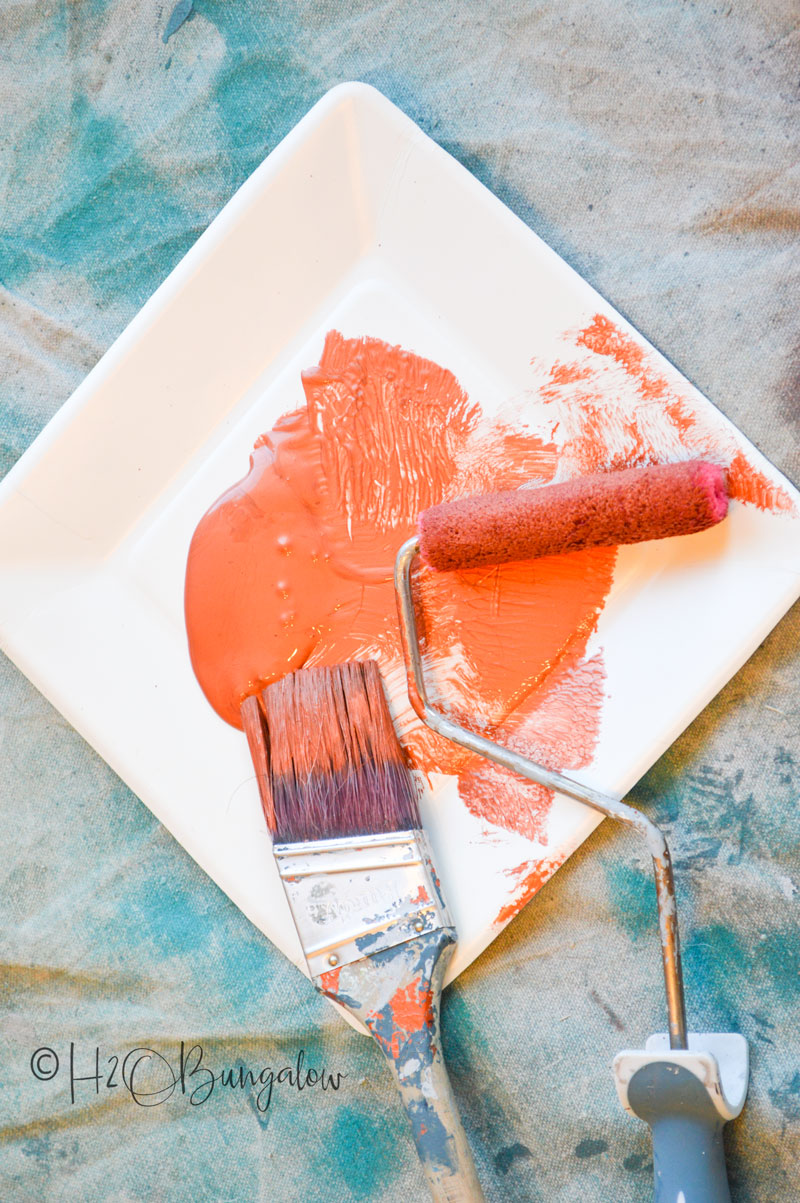
5. Use a paper plate for small and quick paint jobs.
Just toss it when you’re done. For small and quick jobs or painting furniture, a paper plate works better than a tray.
6. After applying painter’s tape, run your finger back over the edge to seal it.
You’ll get a better seal, and the paint won’t bleed under the edges.
7. Shorter strips of painter’s tape are easier to apply.
They won’t get tangled, and when you overlap them in the same direction, the tape will come off in one long piece,
8. Apply painter’s tape into small edges and corners by ripping small pieces of tape and applying.
Small pieces of tape work best around uneven decorative molding and curved edges.
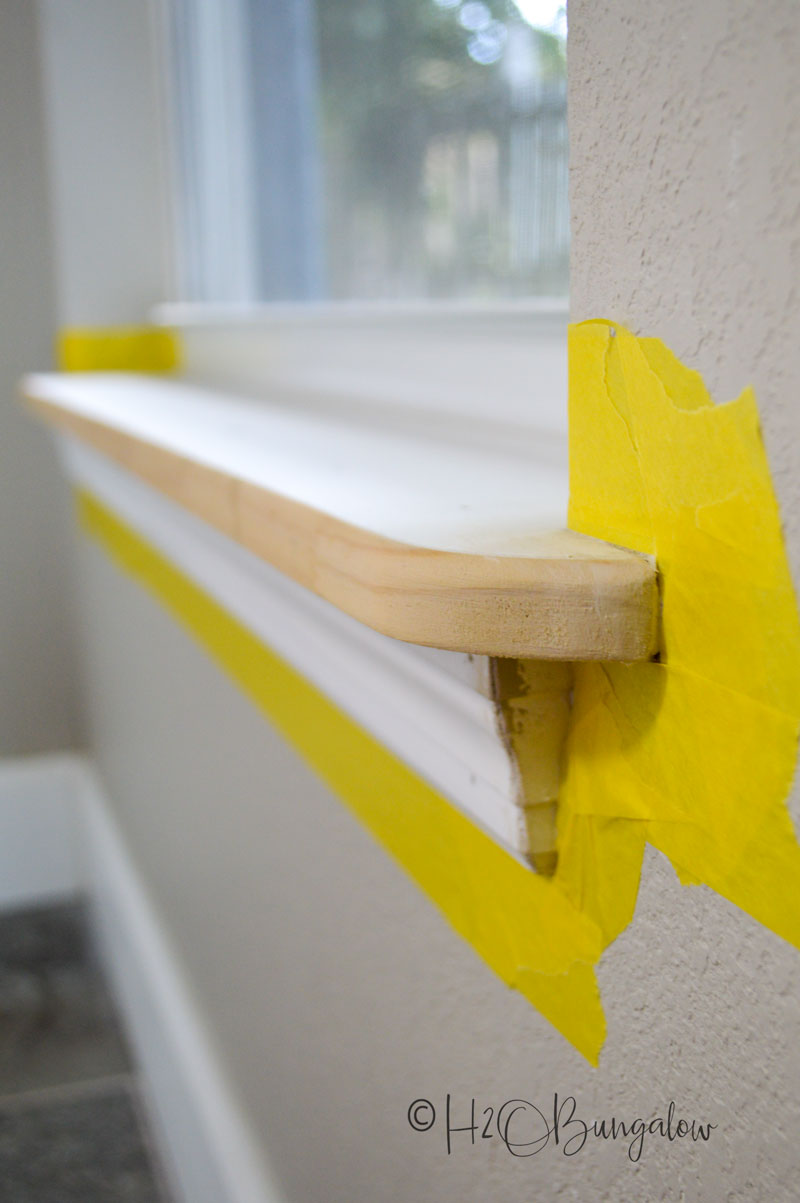
9. Save time when painting baseboards with a layer of painter’s tape on the floor.
When painting baseboards and trim, put a piece of tape along the baseboard at the floor. Use a heavy drop cloth and move it as you work your way down a wall. The tape will catch drips closest to the wall, and the drop cloth will protect the rest.
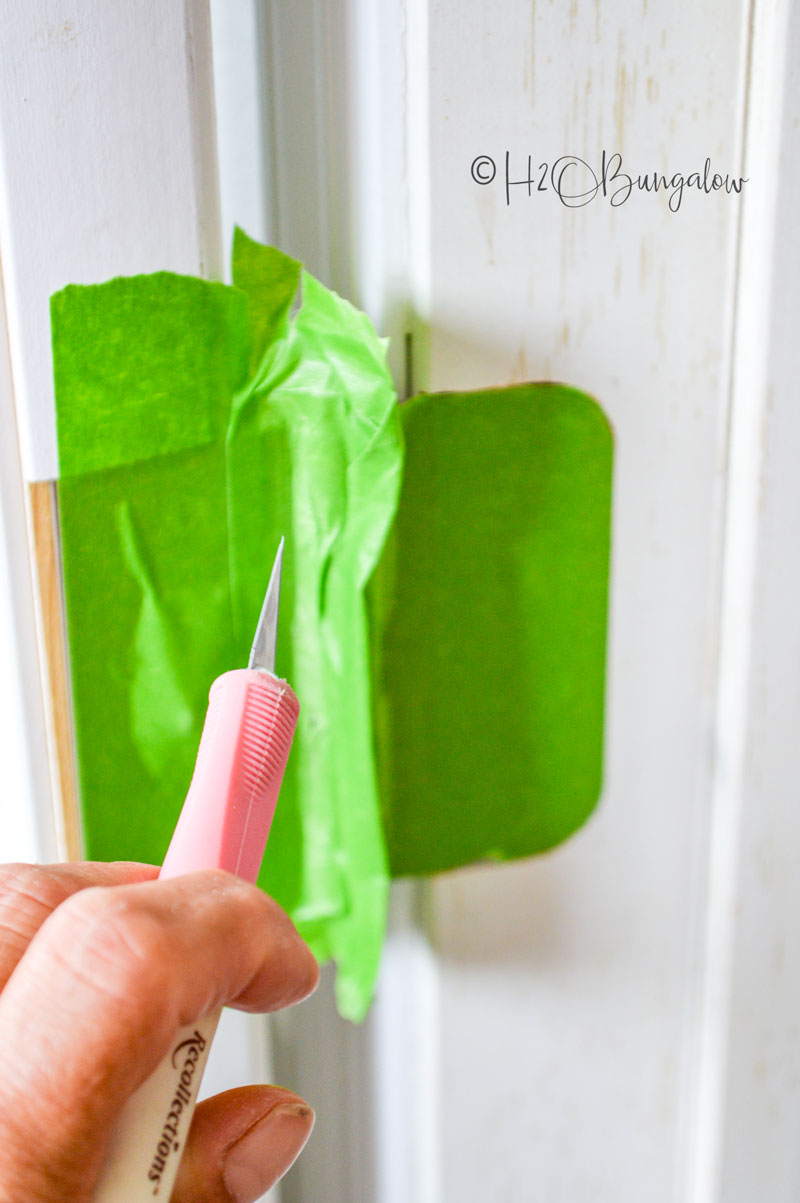
10. Protect door hardware when you can’t remove it before painting.
Ideally, all door hardware should be taken off before painting. When that’s impossible, place tape over hinge hardware, trace edges with an exacto knife, and peel away the excess for a perfect cover.
11. Never let painter’s tape stay on a surface for long.
Always remove painter’s tape when the paint is dry to the touch or almost dry. Otherwise, it may lift some of the new paint off.
12. Remove protective tape by pulling away slowly at a 45-degree angle.
Pull the tape at a 45-degree angle smoothly, and you’ll get a cleaner edge.
13. Never apply tape to surfaces where the paint is less than 24 hours old.
Only use specialty painter’s tape for delicate surfaces over newly painted areas.
14. Use the best quality paintbrushes and paint you can afford.
They both make a huge difference in the final result of your project. These are my favorite budget paint brushes. Take care of them, and they will last a long time.
15. To get a smooth surface while painting furniture.
Use a 4″ foam roller on flat surfaces when painting furniture. Several thin coats of paint are best.
16. Fabric drop cloths are less expensive than plastic.
If you plan on doing a lot of painting, invest in heavy duty canvas drop cloths. They work better and last a long time. They can also be folded into smaller sections for small jobs. These are a good deal.
17. Hand cut in ceilings when painting a room.
Learn to cut a ceiling in by hand with a 2 1/2″ paint brush. It’s faster and looks much better than a taped edge.
18. Always paint ceilings first when the ceiling paint is lighter than the wall color.
Paint ceilings first and down the wall at least a half inch. Then paint the walls.
19. Wrap your brush and roller tightly in plastic overnight if you plan to continue painting.
They’ll last up to a day or two wrapped tightly.
20. Don’t toss old brushes with caked on paint.
Soak brushes in vinegar and hair conditioner to get out old paint. If the bristles are ruined, they’re also great for dusting sawdust off saws and tools before storing them.
21. Paint baseboards and trim before installing with a paint sprayer.
Then do a touch-up by hand after the installation and you’ll save a lot of time. My favorite home-use paint sprayer is the HomeRight Super Finish Max. It’s affordable, easy to use and clean.
22. Use masking tape to make pouring paint from a can easier.
Apply two wide strips of masking or painter’s tape in the shape of a “V” to the top of an open paint can, and you’ll have less mess.
23. Keep a paint pen on hand.
Keep a paint pen on hand filled with your wall color and one for your trim paint color to fix blemishes. You’ll be glad you did!
24. Use a rubber band on a can of open paint
Stretch a rubber band over the top of an open can of paint to tamp off a paintbrush. It drips the paint back into the can and keeps the paint out of the lip of the can.
You’ll find more painting tips that save time, and money and lots more painting know-how in these other posts and projects.
What’s your next DIY painting Project?